

How to Choose the Right Hose Fittings
If you’re planning a piping or fluid power project, having the right tools and components is essential. Among them, hose fittings play a critical role. Choosing the correct fitting can make your project run smoothly, while a wrong choice may lead to leaks, rework, added costs, or even system failure.
With so many options available, where should you start? This guide walks you through the key factors - to help you make the right decision.
1. What Are Hose Fittings?
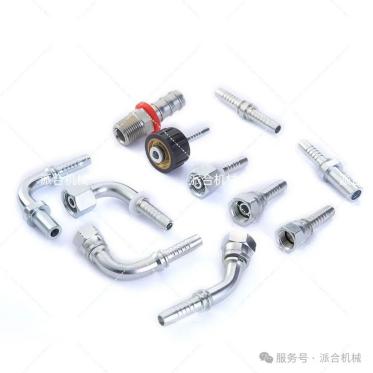
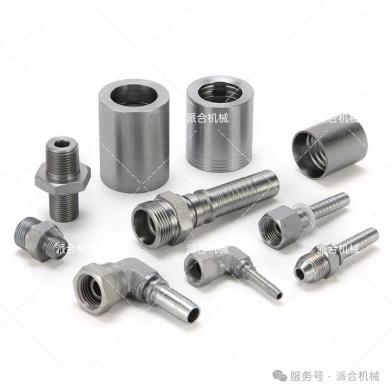
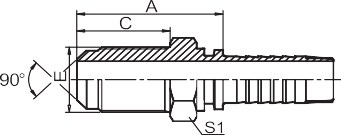
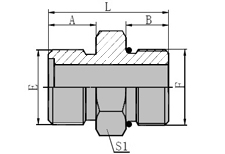
Hose fittings are components used to connect hoses to pipes, equipment, or other hoses. They come in various shapes and types, including:
· Compression fittings– Use a ferrule to squeeze the connection together with a nut and seal ring.
· Barbed fittings– Feature ridges that allow hoses to be pushed on securely.
· Threaded fittings– Have male or female threads for screw connections.
· Butt weld fittings– Require welding for a completely sealed, permanent connection, often used in high-pressure or high-purity systems.
· Elbow and cross fittings– Change flow direction (elbow) or connect four lines at right angles (cross).
2. First Step: Define Your Application
Before selecting any fitting, ask yourself three key questions:
· What fluid (media) will flow through the hose?
Water, oil, steam, chemicals, or gas? This determines chemical compatibility and corrosion resistance needs.
· What is the operating pressure?
High-pressure systems require fittings rated for that pressure with reliable sealing (e.g., compression or threaded steel fittings).
· What is the environment?
Indoor, outdoor, wet, salty, or extreme temperatures? Will the fitting be exposed to UV, abrasion, or corrosive agents?
3. Second Step: Determine Hose Size
The size of your hose determines the fitting size needed. A small-diameter hose requires small fittings; a large-diameter hose needs large fittings. Always match fitting dimensions exactly to the hose’s inner diameter (ID) and outer diameter (OD) to avoid leaks or connection failure.
4. Third Step: Choose the Right Material (Industry-Tested Reference)
Core principle: Media + Environment = Material choice. Don’t chase high cost — fit is what matters.
Below are four common materials with real-world salt spray test data for reference.
Material
Advantages
Disadvantages
Salt Spray Test (No Red Rust)
Best For
Carbon Steel + Zinc Plating
Low cost, good strength, easy to process, high compatibility with medium/low pressure hydraulic systems
Poor corrosion resistance, rusts easily; not for wet, outdoor, or corrosive environments
Up to 500 hours
Dry workshops, general hydraulic equipment, small power units, budget-conscious projects
Carbon Steel + Zinc-Nickel Alloy Plating
~4x better corrosion resistance than standard zinc plating; smooth finish, same strength as carbon steel; cost-effective upgrade
Still less corrosion resistant than stainless steel (304/316); not for strong acids or high salt spray.
Up to 2000 hours (with color passivation)
Humid/semi-corrosive environments, outdoor construction machinery, equipment in wet workshops
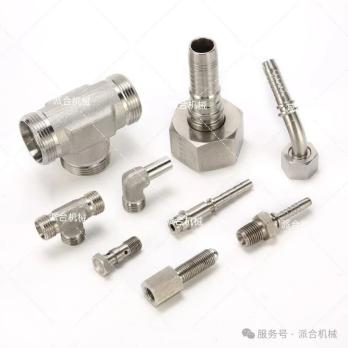
Stainless Steel (304 / 316L)
Excellent rust prevention, no plating needed, long service life; 316L outperforms 304 in high corrosion, high temperature, and acid conditions
Higher cost; 304 is not suitable for strong acids or high salt spray; 316L costs more than 304
Not applicable (inherently corrosion resistant)
304: Humid or mildly corrosive areas (e.g., chemical auxiliary equipment). 316L: Marine platforms, chemical plants, food industry, high-salt/high-acid environments
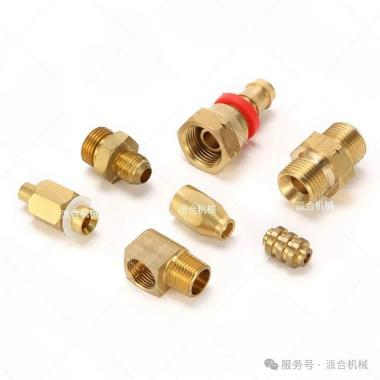
Brass + Nickel Plating
Good conductivity, excellent machinability, smooth surface, easy assembly, won’t damage tubing
Avoid ammonia environments; not for high pressure; general corrosion resistance only
Limited
Low-pressure hydraulic systems, equipment requiring conductivity, dry/clean industrial environments (e.g., precision instruments)
Pro tip — Don’t ignore the seal material:
For general conditions, use NBR (Nitrile). For high temperature (>120°C / 250°F) or strong corrosion, switch to FKM (Viton) — this alone can reduce leak rates by over 90%.
5. Fourth Step: Select the Correct Fitting Type
Different projects require different fitting configurations. Common types include:
Connectors (couplings) – Join two hoses together.
Tees – Split flow into two directions.
Elbows (45° or 90°) – Change flow direction.
Crosses – Connect four hoses at right angles.
Caps and plugs – Seal the end of a hose or fitting.
Choose the type that matches your system’s layout and flow requirements.
6. Common Mistakes to Avoid
❌ Matching only by thread size while ignoring hose ID/OD → leads to leaks or blow-offs.
❌ Using zinc-plated carbon steel in outdoor wet environments → rapid rusting.
❌ Assuming stainless steel is always overkill → sometimes it’s the only safe choice.
❌ Forgetting the seal material (NBR vs. FKM) → a hidden cause of leaks.
Final Summary: Quick Decision Flow
1. Define fluid, pressure, environment
2. Select material (carbon steel Zn, Zn-Ni, SS304/316L, or brass)
3. Match hose size precisely
4. Pick fitting type (connector, tee, elbow, etc.)
5. Confirm seal material (NBR or FKM).